General
IntroductionGetting startedWriting MDXBuilt-in componentsDocument settingsDeploying your docsUsage in monorepoUsage with CSS PreprocessorsUsage with TypeScriptCustomizing
Powered by GatsbyGatsby ThemeCreating your themesAdd Favicon and MetadataComponent ShadowingCustomizing Webpack ConfigReferences
Migration GuideProject ConfigurationComponents & Hooks APICreating PluginsMDX PluginsGetting Started
First off, try take a look and check out docz's examples directory for the full list of supported examples.
Start by adding docz as a dependency:
There's also a create-docz-app, which you can be using to start new projects with docz even quicker, but it's totally independent from docz, therefore not officially supported. Once we strongly don't believe that it should be part of what we want to bring to the community as a project, but feel free to use it as much as you need, especially to replace
create-reract-app, for example, to create new projects.
yarn add docz # react react-dom
or
npm install docz # react react-dom
Note: Make sure you have
reactandreact-domcorrectly installed as dependencies with versions>= 16.8.0.
After installing Docz in your project, you may find it convenient to add three scripts to your package.json to run, build and serve your Docz website.
Note that this is an optional step :
{
  "name": "next-gen-documentation",
  "scripts": {
    "docz:dev": "docz dev",
    "docz:build": "docz build",
    "docz:serve": "docz build && docz serve"
  },
  "dependencies": {
    "docz": "latest",
    "react": "16.8.0",
    "react-dom": "16.8.0"
  }
}
You can now spin up your dev server by running:
yarn docz:dev # or yarn docz dev
or
npm run docz:dev
Develop
With your dev server up, you can start writing your documentation.
Docz uses the MDX format that allows you to seamlessly write JSX inside your markdown files.
Note that you don't need to follow any file architecture or convention. You can just create your
.mdxfiles and put them anywhere in your project.
With that in mind, let's create our first .mdx and give it a name and a route:
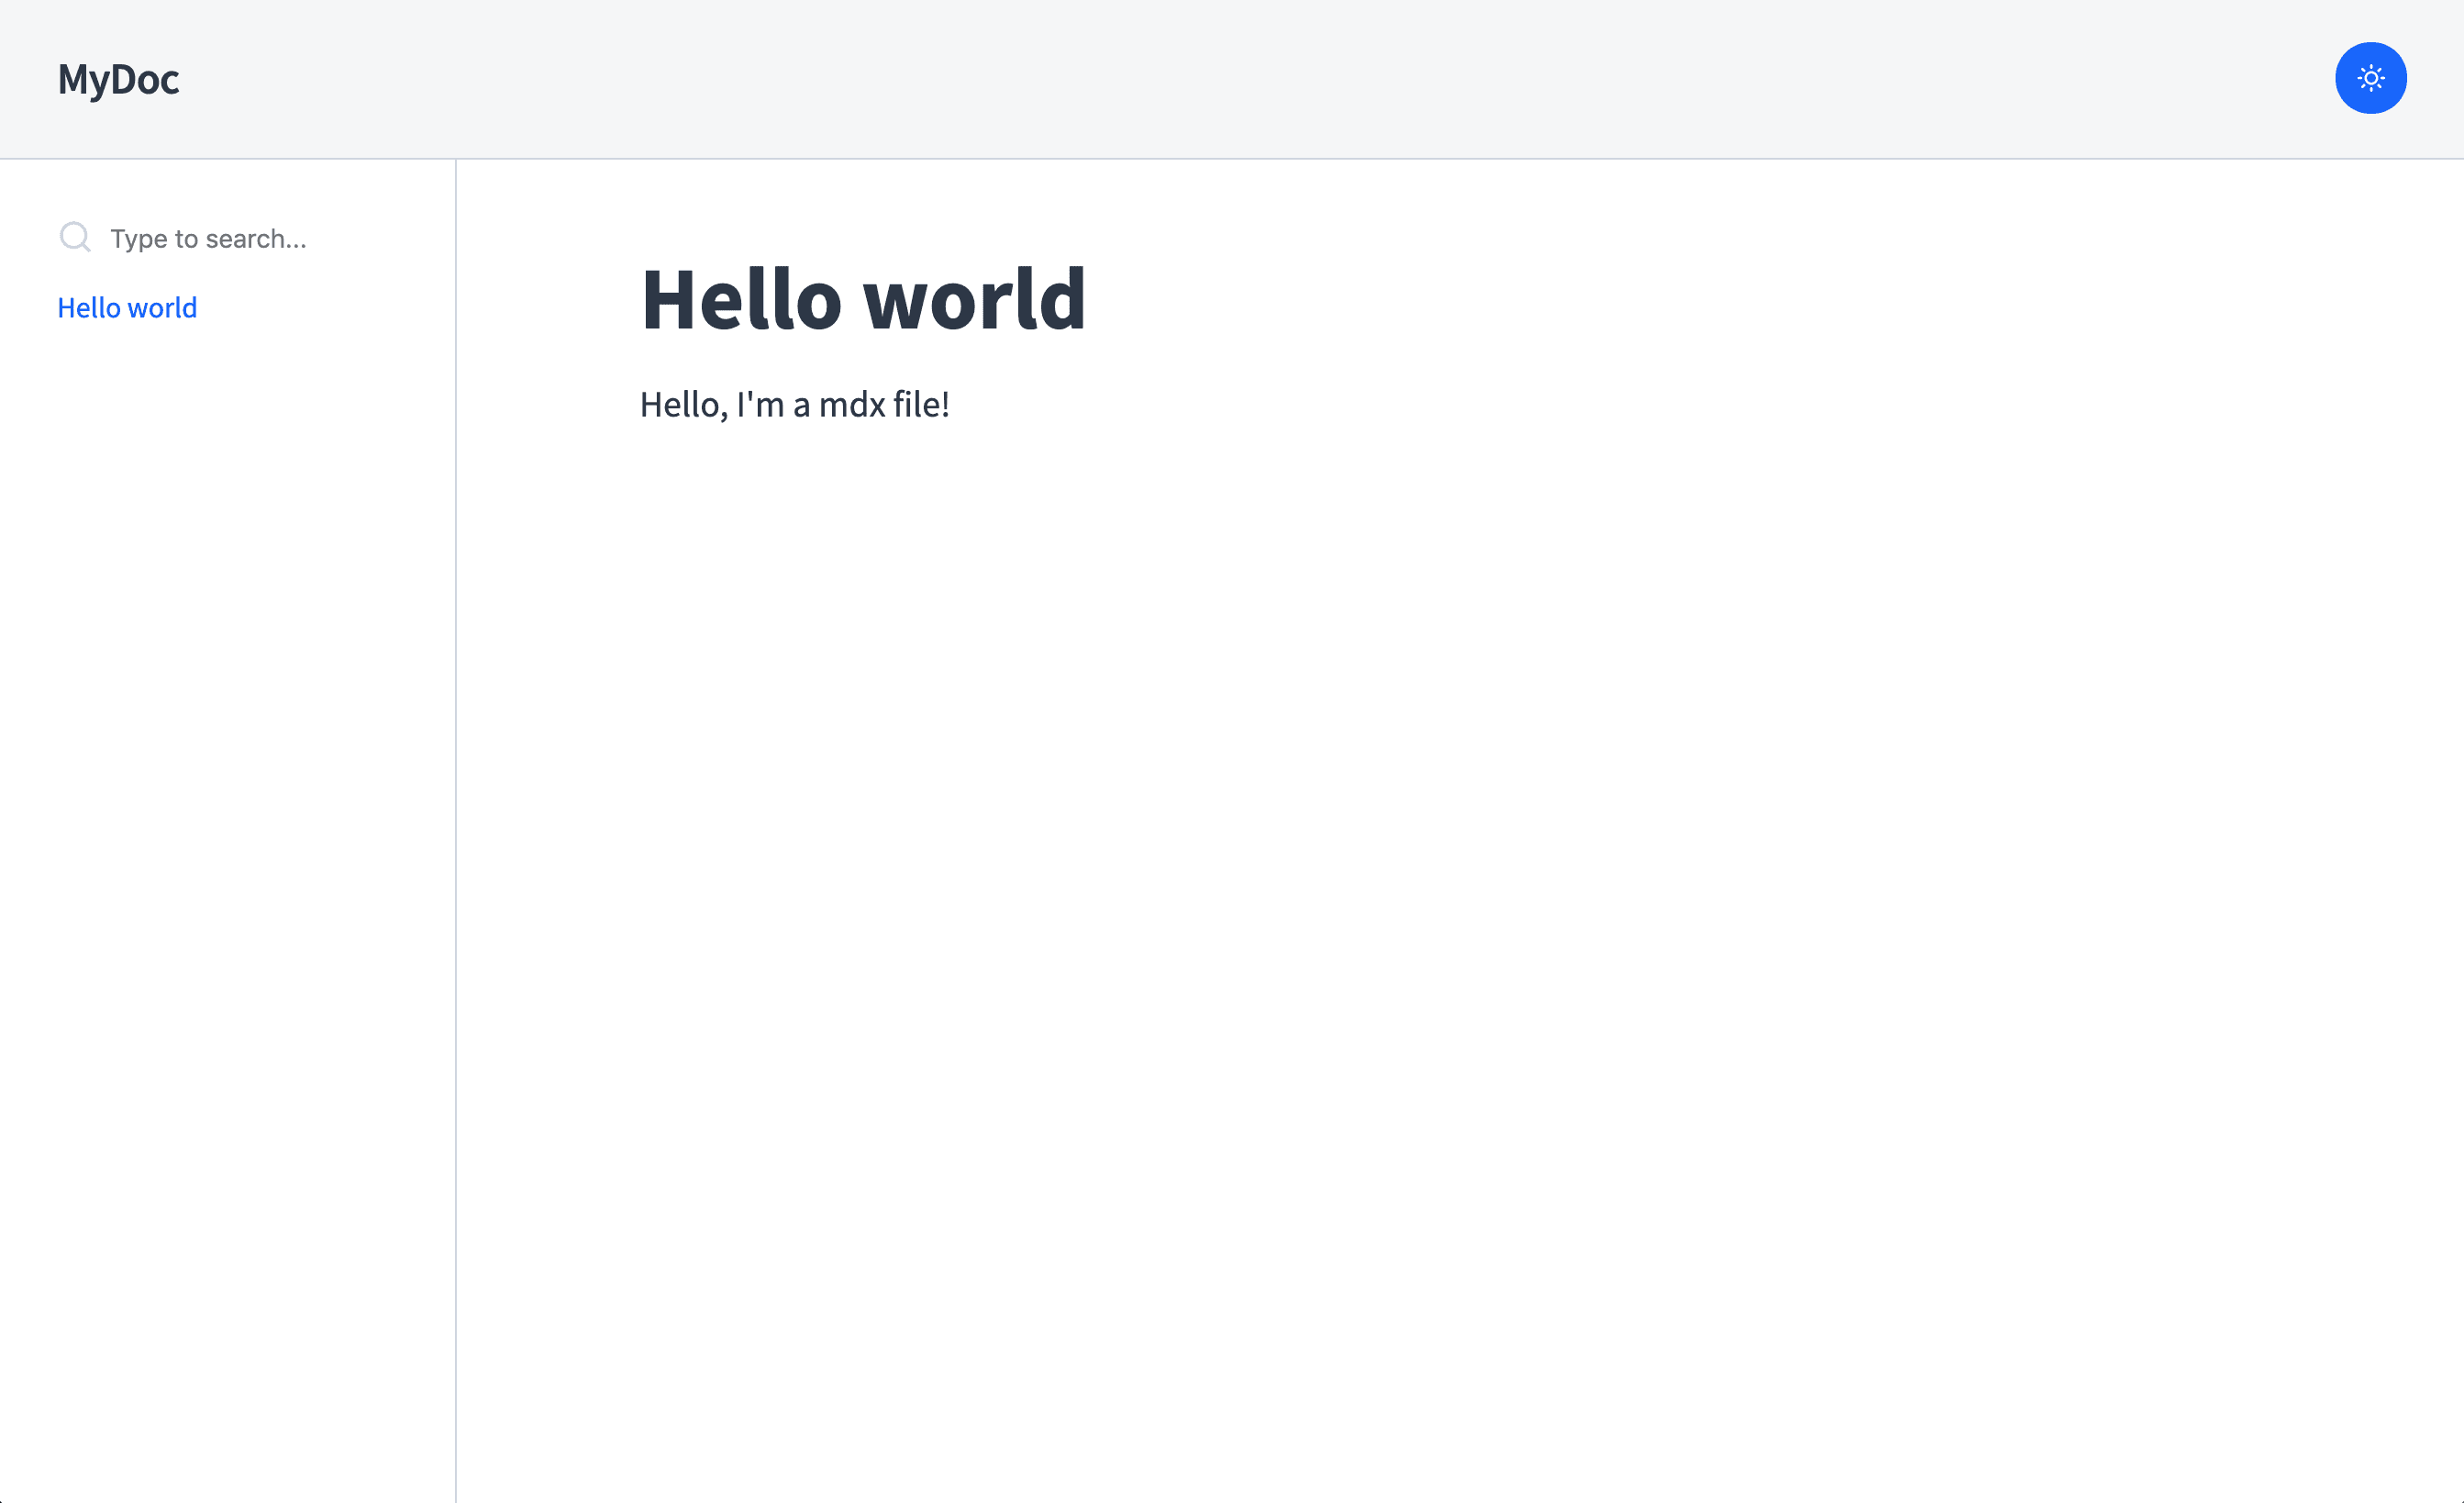
---
name: Hello world
route: /
---

# Hello world

Hello, I'm a mdx file!
With your first .mdx document created, you can open your browser and visit localhost:3000 to see something like this:
We cover more of what you can do with Docz in Built-in Components and what you can do with MDX in the Writing MDX page.
Build
yarn docz build will generate a static site for your site in .docz/dist/.
You can try it out with yarn docz serve or by serving the generated site with your favorite static file server (e.g. npx serve .docz/dist).
You can have yarn docz build emit to a different directory by providing a path to the dest field in your doczrc.js or from the command line : yarn docz build --dest docs-site-directory.
Deploy
The output of docz consists of static assets only. This allows you to deploy your generated docz site with any static site hosting provider you'd like.
Start by building your site with yarn docz build, if you haven't provided a dest flag to your config then you will find your generated files in .docz/dist that you can copy to your server to deploy your site.
Examples
You can check the complete list of docz examples here.
Migration Guide
This documentation is about Docz v2.
If you need to migrate your Docz project, please read the Migration Guide.
If you are looking for documentation for v1 you can find it here.